
Greetings Adventurers! I too was an adventurer like you, until I took an arrow to the … elbow. Perhaps you have time for the advice of an old man? Come along now, it might save your life and only cost you the time it takes to drink an ale. Great rewards and the answers to terrible mysteries await those brave, or foolish, enough to delve into the Dungeons of Enveron. Whether you succeed or fail will depend on your skills, knowledge and equipment, but it’s not always easy being a newly minted Adventurer like you. Come closer and I’ll share my wisdom to help you find the path to success, save the world from a great evil, and maybe secure wealth and glory while you do it…
Live to Fight Another Day
‘Just one more turn’ is a dangerous phrase in Maladum. The temptation to raid an extra chest, or to hang on long enough to complete an objective, is always strong. After all, you never know what exciting bit of loot is waiting to be found, and an incomplete objective can change the whole course of a campaign. But it can be deadly, especially for a lightly equipped and low-level party.
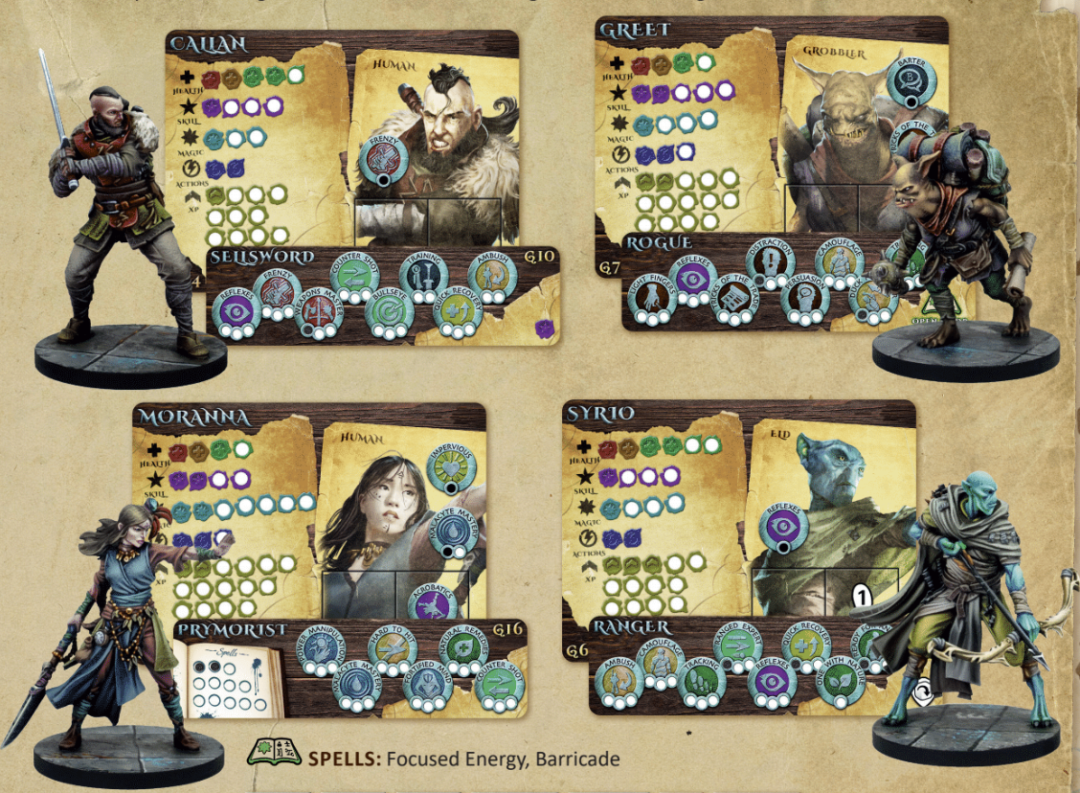
For example, at the start of a campaign some Adventurers, like Moranna and Greet, only have three Health pegs. Meaning that they are potentially one bad hit away from being defeated. Especially without any gear to block, parry or force a re-roll on an attack. Remember that regardless of what the Quest says, the main objective is to survive.
Everything else is a bonus.

A Defeated Adventurer means fewer targets for Adversary attacks, increasing the pressure on the remaining party members. With less crowd control, enemies become harder to manage, making it more likely that another party member will fall. Even worse, assuming they survive being Left for Dead, they don’t earn experience from that quest, and you might even lose their loot and services for a time. Early in the game, it’s unlikely you can afford to replace them, and losing their loot and skill progression puts you at a disadvantage. Taking the time to heal or drag a downed Adventurer to safety, and even deciding to run for the exit before completing an objective, might be the best course of action to avoid the more deadly alternative.
Talking of running, the growing threat of the Dread Tracker means that knowing when to flee is vital. The right time is usually two turns earlier than you think it is! If escaping seems easy, you’ll likely make it, but not without a challenge. If you think getting out is risky but possible, then it’s often deadly serious. Getting out alive creates a virtuous circle where your party is better armed, better protected, and more skilled.
Running away is useful at a tactical level too, so don’t be too scared of Attacks of Opportunity. Sometimes it’s better to risk running the gauntlet of some weaker adversaries to escape an approaching mob, or to flee more powerful foes. Finally, don’t forget about the Knock Back action. When an Adventurer is pinned down it can create just enough space for them to escape to relative safety.
A Balanced Party
Having a party with a broad toolkit of abilities available to them will make the game easier. If you’re coming to Maladum from Core Space, this is more important than you might be used to. It’s no use having a mighty fighter if they can’t access the room where an important objective is, the Rogue needs someone to watch their back while they work, a Maladaar using the right spell at the right time means they can turn the tide of a battle and so on.
Maladum is a flexible system, allowing you to pair any class with any Adventurer, even fielding a party entirely of Maladaar if you wish. However, diversifying your team and matching classes to an Adventurer’s strengths will make things easier. For example, a Sellsword won’t benefit much from Magic pegs but will rely heavily on Health pegs. Planning accordingly can give you a crucial edge. When I play, I usually take a classic party of a fighter, magic user, rogue, and a ranged character and they complement each other well. You can play around with the specific classes to get different playstyles. For example, in one party I have Callan as a Sellsword, and in another party I have Grogmar as a Barbarian. The two classes offer different gameplay options, but the important thing is that they both play the role of soaking up attacks from Adversaries and doling out damage. This frees up the rest of the party to do their jobs and complete objectives.
Play of Coin and Glory
The campaign structure of Maladum also has a big impact on how you play. In most campaigns, you need to add a point of Delay to the campaign log whenever you choose to play an additional Quest, or are forced to because you failed a previous one. This Delay can add up to cause you problems later in the campaign. However, this doesn’t apply if you play Of Coin And Glory Quest before the campaign so I recommend running it a few times before diving into a campaign. This allows you to get used to the game, level up your party a bit, and give them a stronger start with better equipment.
It’s easy to change the map layout around and drop in some different Event cards to keep things fresh too, so it won’t feel like a grind. If you can afford the delay, it’s also worth considering doing the optional Quests that are part of the Dungeons of Enveron campaign. I’ve found that trading some delay for a stronger party means you are more likely to succeed on later Quests which avoids delays later.
Don’t Split the Party
This is a cliché for a reason. Adventures can’t support each other if they are too far apart and you risk them being overwhelmed by Adversaries if they are. Maladum Adventurers are somewhat specialised and are at their best when they can do what they are good at, so you need your party members close enough to each other to play their role. The Ranger needs to thin out approaching enemies, so the Sellsword can cut down the rest, to allow the Rogue to get a locked door open in peace, and so on. You’ll need Adventurers to block a Grave Point while their ally loots a chest, or within reach to heal them if they are Defeated. At the very least, having someone close enough to put a burning Adventurer out (or at least close enough to use them for illumination and to cast Fireball) is helpful.
Except… sometimes the risk is worth it. You are always on the clock with things only getting more dangerous the longer you hang around. Using spells, skills, or abilities to increase an Adventurer’s movement so they can dash to a distant objective or pick up some valuable loot before things get crazy can really pay off. Just know it is always risky.
All the gear, no idea

For a new party of Adventurers, even a small upgrade in equipment can make a huge difference, but money is tight so knowing what to invest in is important. The bow and axe from the standard starting equipment are OK, but the rest of the weapons are not reliable. You’ll be tempted to replace them as soon as you can, but your priority should be to buy armour instead. When Guilders are in short supply at the start of the game Leather Armour is a great option. The cost of it means that you can protect two Adventurers for just a little more than buying one set of Studded Leather. It offers less protection than Studded Leather but, in my experience, it’s better to have some armour on several Adventurers, than just one Adventurer with great armour. Make sure to put it on Adventurers that will be doing the most fighting, and try to position the others out of harm’s way as much as possible. Remember that an Adventurer that survives because of their armour is one that can cash in their loot and level up, so it’s a great investment. With a bit of luck, you’ll find a better weapon on the next Quest anyway which is all the more likely with the ever-growing collection of equipment tokens you can pull from the token pouch.
When you decide to upgrade weapons, it is better to spend more on equipping your tougher fighters than getting slightly better weapons for everyone. Your weaker Adventurers can probably manage with starter weapons for self-defence for the first few quests if your fighters are dispatching enemies more efficiently. Most of the time your specialists, like Rogues or Maladaars, are better off doing their job picking up loot or casting spells than they are getting stuck into a brawl.
For that reason, I’d pick up a Sword for your main fighter as soon as possible to make them more deadly, and bit tankier because of the Parry ability. If you have a Ranger in your party, then I’d save my money for a Composite Longbow rather than buying the cheaper normal Longbow first. Most shots are taken at short and medium range in my experience, so the benefits of upgrading to a Longbow are not worth the lost Guilders.
Pick up a shield for Adventurers that will be in the line of fire the most too, it can be a cheap way to make them more survivable. It works especially well if you combine it with the Weapons Master skill to gain the Passive ability to use Shield Block as an Effortless Action. Take your turn, then raise your shield with an Effortless Action and hold back the tide!
Gundalf
Although your priority is to equip your frontline fighters with the best weapons, don’t forget that Maladaar are better fighters than most of their fantasy counterparts. They often have fewer Health pegs and wearing armour causes them problems, but being Warded offers decent protection and there is nothing in the rules to stop them from equipping any weapon. Ranged weapons are better as they can help the Maladaar to stay out of the reach of enemies, so a wizard with a gun is not a terrible idea as pistols tend to be small, but still pack a punch in an emergency. When it comes down to it even close combat weapons can work. In one of my recent games, Moranna got surrounded by Lamentors, picked up an axe, and then cut her way to safety!
Being on Fire is Bad
This might sound obvious, but it’s easy to get blasé about lower rank Adversaries. If you’ve come to Maladum from Core Space, this might be the thing that catches you out most. Sure, a Lamentor is slow and easy to kill, but every attack comes with the risk of being Poisoned. At best this could slow you down, at worst it could put an Adventurer out of action. Getting shot at with fire is even worse, making Hellfonts much more dangerous than their two-dice attack might make them look. Sometimes it’s just not your day and your foes keep rolling crits, so planning around the potential to suffer negative Status effects is essential.
This goes both ways, getting weapons that inflict Status effects is great. For most Adversaries this won’t come into play as they are killed with the first hit, but against Denizens or Wandering Beasts it can make a massive difference.
Positions Please
It pays to take a few minutes to consider your positioning before you move an Adventurer. Can they end their turn on a threatening Grave Point to block it? Can you finish your move so an Adversary can’t quite reach you, giving you a chance to attack them first? Is there a bit of moveable terrain you can use to block a Grave Point or to move to give you some cover? Also, look for choke points and place your tougher fighters there to protect the squishier members of your party.
On some maps the rules for Darkness will be in play, make sure you are thinking about where the light is so your Adventurer has the potential to deal their full damage (or ensure you took the time to collect a torch). A sneaky tactic is to replace your arrows with Fire Arrows by Interacting with a source of fire. This not only makes them more dangerous but they act like a torch without taking up extra space in your inventory.
Finally, don’t forget that Tombs become Grave Points after you’ve pulled out the lovely loot, so don’t leave a vulnerable party member too close.
Random Events
Part of the charm of Maladum is the Event Deck. It keeps you on your toes and adds a cinematic flavour to your games, but it can also throw a huge spanner in the works. Even if you don’t know exactly what cards are coming up, it’s always worthwhile to be thinking about potential issues and opportunities. What will happen if your Adventurer waits in that location and a Crag Troll appears? How can I lure the Revenants towards the Denizen that just arrived, so it deals with them for me? Is it really worth taking the time to explore that Side Quest? This Adventurer is on one Health peg, what will happen to them if a trap springs? These are all things to be aware of as you play.
It can go both ways too, in the past a Wandering Beast has distracted the Rot Troll long enough for my Adventurers to slip away, and a long desperate trek to get back to my Staging Point suddenly became a lot easier thanks to a new shortcut. Don’t bank on it saving you though!
Don’t miss out on spells like Foresight or skills like Tracking that allow you to see what is coming up in the Event Deck. Being able to plan a few rounds in advance stops you from being caught on the back foot. For example, knowing that the exit you are making a desperate run for is about to shift to a different Entry Point could be a lifesaver.
Take a Break
During Quests, finding a moment to take a Rest action can be critical to success. Adventures that have cleared negative status effects and restored Health pegs are more potent, Maladaar that have Magic pegs are more useful, and specialists with Skill pegs to spend have more utility. Although Resting too much can be as dangerous as not resting at all, so don’t take it too far. You need to keep an eye on the levels of Dread to avoid getting swamped by enemies.
After Quests, try to ensure you have enough money to stay at the Inn. It’s much safer and often has positive effects. In contrast, camping out in the wilderness is going to go badly for your party more often than not. For lower level parties, starting a Quest with fewer Health pegs or the Poisoned status because of an encounter in the wilderness can be a real problem. Make sure your Adventurers get their beauty sleep if they can.
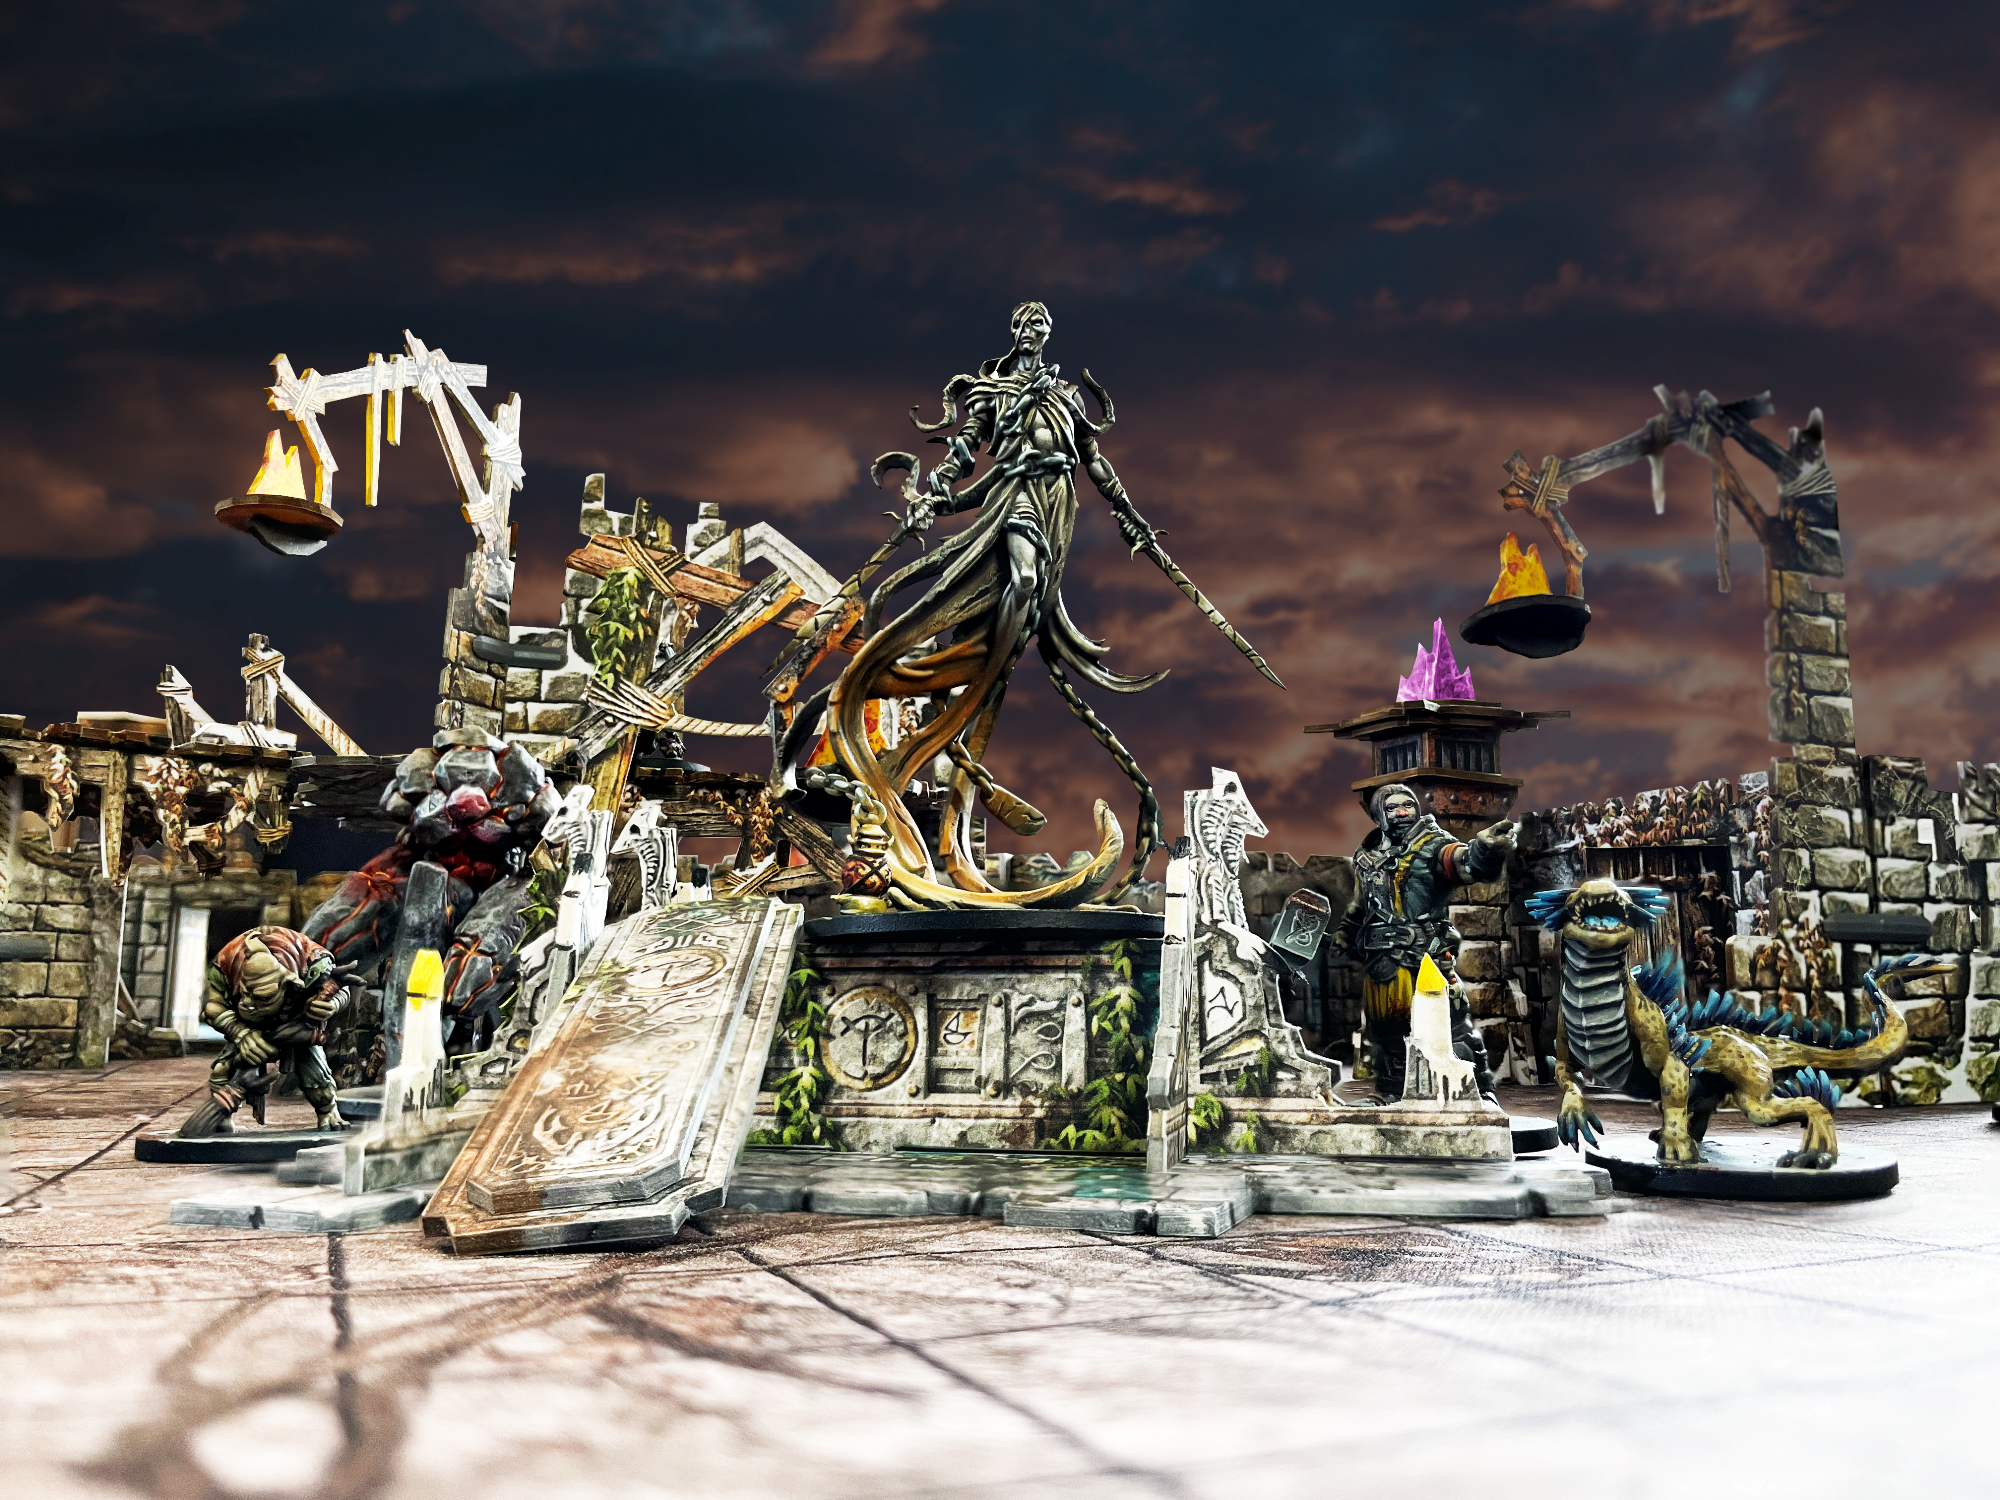
It’s Called Maladum For a Reason
One thing to not sleep on is magic! Magic is really important in Maladum, there’s a reason it’s in the name. The Bless spell for example is almost mandatory and it means even a low-level caster with the Bless spell is a crucial member of your team. This one spell can be the difference between success and failure by changing a critical roll at the right time. Always bring it along if you can (and don’t forget that Adventurers with the Malacyte Mastery skill can cast it whether they know it or not).
Although using magic is going to push you up the Dread track faster it’s often worth the cost, especially for Bless. Don’t forget that only the first spell cast in a round puts a Magic peg in the tracker, so try to be efficient with it and cast several things in one round if you can.
Maladaar may start off more fragile than other Adventurers, but they become powerhouses at higher levels. Being able to take a Rest anywhere and anytime with Cocoon can keep a vital Adventurer in play, the Illusion and Barricade spells can divert adversaries when all seems lost. If all else fails, a well-placed Fireball is the best answer to a horde of foes, and Rearrange Cells turns you into a literal close-combat monster.
A Particular Set of Skills
Some Adventurers have skills that are useful in ways that are immediately obvious. Fleet of Foot is very handy for hit and run tactics, where you nip in to grab key items and get out again before the Dread gets too high. Reflexes is amazing for avoiding damage, and Frenzy lets you hit harder, plus gaining the First Strike ability at level 3 is game-changing. Tricks of the Trade is essential for Rogues, and Bulls Eye is incredible for ranged Adventurers. Malacyte Mastery’s ability to control the odds on the Magic die and access to all level 1 spells makes it brilliant for magic users.
Hidden Gems
However, there are also some less obvious skills to bear in mind. Used right, Ambush can give you a chance to thin out the enemy before they become a problem. Camouflage can be a lifesaver, for example letting an isolated Adventurer stay out of sight until a group of enemies has moved on. Although Barter is used in the Market Phase, it can really contribute to your success during Quests as it frees up money to buy better gear and access to more potent equipment. Natural Remedies turns the Adventurer who knows it into a great healer, boosting how much health gets restored and removing negative Status Effects. Don’t miss it. One With Nature provides a reliable source of healing items and only gets better at higher levels by letting you control, and even summon, Wandering Beasts. An S tier skill in my opinion.
Finally, Unlikely Hero is just entertaining. Watching your unassuming Adventurer emerge unscathed from situations that should kill them, or poaching the party’s renown to use a skill, never gets old.
Experienced Parties
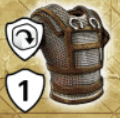
As your party gains experience some of your priorities change. Armour is still important, so upgrade this as a priority. While money is tight, Chainmail armour is a good choice, as getting to re-roll a hit scored against you is powerful and you can equip two Adventurers with it for only a little more than buying one set of Breastplate armour.
Ensure your magic users have access to the Warded status through spells or equipment too. Also, don’t do what I usually do and forget to activate it until halfway through the Quest.
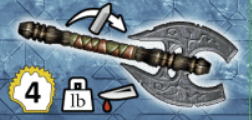
Taking advantage of weapon abilities is really valuable. For example, a decent weapon with the Cleave ability is incredible for crowd control. It might take up a lot of room in your dashboard, but the Great Axe more than pays its way for this reason (it’s also excellent to combine it with the Brutal Assault level 2 passive ability to ignore the Cumbersome effect). I’m also a fan of weapons with the Parry ability for the extra survivability they offer to the Adventurer using them. If you have a Ranger (or a character that uses bows a lot in general), the Quiver is a great investment for the reliability it provides. Combined with the Merutan Longbow, an Adventurer with a Quiver can reliably thin out enemies before they even get close.
That said, bigger isn’t always better. With limited storage space in your dashboards, the trade-off between damage output and carrying capacity isn’t always simple. The Merutan Longbow is great, but I usually take the Composite Longbow instead. It is nearly as powerful, lets you take a short range shot, and frees up room in your inventory for more loot or a backup close combat weapon.
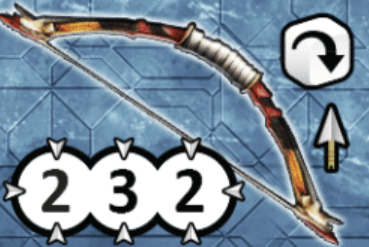
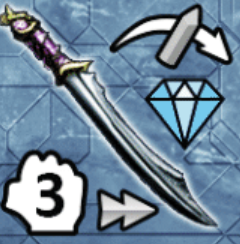
The Ale and Adventure expansion gives you access to some excellent options too, especially through crafting. Two of my favourites are the Keltic Falchion and the Mastercrafted Bow. Both are relatively affordable and the components needed to craft them are fairly easy to acquire. The falchion gives you a decent number of combat dice and the Cleave ability, all packed into a small package. It’s perfect for Rogues, giving them some good offensive ability bit still leaving room for lots of loot. At medium range, which is where you’ll use it most, the Mastercrafted Bow lets you roll three combat dice. However, the ability to re-roll a combat die makes it better than a four combat dice weapon in practice, as you can be efficient with which die you choose to reroll. It’s a fantastic weapon for the price.
Your Maladaar(s) will rely on their magic most of the time so decent weapons are less important, but it’s good to find gear that makes them tougher – either directly through the Warded status, or indirectly by letting them stay out of harm’s way (for example through an item enchanted with the Invisibility spell). I try to keep my Maladaar’s dashboard as empty as I can to allow room to carry more loot, so I like small weapons like the Enchanted Cudgel. It is great because it does two combat dice, but you can boost it in an emergency with a Forceful hit and / or through Channelling. As your magic users probably have the most Magic pegs available it’s good insurance for them to have this, or other weapons that can use Channelling, on hand.
Think carefully about taking guns. They usually offer great damage output, but the Loud trait is going to put you in more danger, and the Unreliable trait means it can let you down when you need it most. Despite this, in my game Callan has a pistol as a backup because a) it’s a lot of firepower in a small amount of space and b) it’s cool.
The More the Merrier?
If you find yourself flush with cash, you might want to expand your party. This can be a good idea to make sure you remain at full strength if you have an Adventurer put out of action for some reason. Don’t go crazy with it though, you can only take four on Quests with you and the upkeep and Inn fees can be a big drain on your finances.
A good compromise if you have an expansion like The Forbidden Creed is to add Companions to your party. They are relatively cheap, add a lot of extra utility, and have low upkeep costs. If you can gain the spells or items you need to summon Otherworldly Companions, that’s even more cost-effective (although you might end up paying a different kind of price for it).
Quick Tips and Quality of Life Ideas
- It might be too late, but if it’s not, read the part of the manual about where to put what tokens. If you just pop them all out it can be a pain to separate them all out into the right types again later.
- Don’t worry if you struggle with the Training Quest in the Learn to Play booklet. It’s not connected to the main campaign so if you fail, or lose an Adventurer, it’s not important. Think of it as practising in the dojo, or the Danger Room if you’re an X-Men fan. The goal is to get used to the rules not to ‘win’ it, so play it as much or as little as you need before jumping into the campaign.
- Don’t forget that you can boost the protection of Warded characters by spending Magic pegs if you need to.
- Remember that any Adventurer can use spend Magic pegs to resist spells used against them.
- Adventurers without spells still have some Magic pegs, so it’s a good idea to find ways to use them. Any Adventurer can use equipment with the Channel ability, so it can be a good strategy to give it to non-casters. That way they can spend Magic pegs they probably won’t use otherwise to do more damage, or cast a spell from the item.
- Throw stuff! Need to get some gear from one Adventurer to another, chucking it to them can be the most efficient option. Don’t forget that many of the melee weapons can be thrown if you need to. Even an apple, or other item, can be chucked for a one-die attack in an emergency. Plus it’s an Effortless Action!
- Were you born in a barn? Close doors behind you, opening / closing doors is an Effortless Action for your Adventures but a whole action for Adversaries so it can buy you time.
- You’ll see a lot of beautifully painted models, but not everyone is a painter so don’t feel you have to paint yours. The models are colour-coded by type so you can play with them straight out of the box without painting them.
- If you are a painter, check out the Maladum Universe Facebook group or our Discord for inspiration.
- If you don’t have them already, the Maladum Reference Cards are really handy.
- Don’t forget to download the FAQs from our website. You’ll also find other useful and fun tools there, in addition to more free Quests.
- The Deluxe Rulebook has rules for fighting styles that allow you to Duel-Wield weapons or make a Reckless Charge. Both of these fighting styles mean your attacks can do more damage, which can be very useful at any time, but is especially valuable when you have an under-equipped party at the start of the campaign.
- If you find that you are running out of baddies to spawn, you can buy Revenant Retribution to add more. Good luck!
- Don’t forget that you can adjust difficulty levels by changing how many Novice or Veteran cards you add to the Event deck.
- Finally, it’s your game – feel free to adjust things if it suits you and your friends better.
What to Get Next
Now you’ve got a few games in and levelled up your party, what’s next? The core set is going to keep you busy for a long time, but picking up a couple of expansions early on can add a lot of extra depth to your playthrough.
Ale and Adventure
My first recommendation is to get Of Ale and Adventure, it adds so much richness to the game. Not only do you get a bunch of cool new Adventurers for your party or to act as Denizens, but it also adds Hidden Locations, crafting, Side Quests, and loads of new equipment – including powerful Relics.
Deluxe Rulebook
The Deluxe Rulebook is a great way to dive further into the lore of the setting, but it’s also great to have all the rules to hand in one place. We think it looks lovely too.


Beasts of Enveron
The dungeons of Enveron are crawling with terrifying creatures, so if you want to spice up your games with new critters to encounter the Beasts of Enveron expansion is a great choice. Whether you meet the Rot Trolls living relative, the Crag Troll, or the tricky Alary it’s sure to keep your Adventurers on their toes.
Narrative Expansions
If you’ve completed the main campaign then look out for the narrative expansions, The Forbidden Creed and Oblivion’ Maw, they are great options to pick up new stories. Go for Forbidden Creed if you want to thwart a cabal of Maladaar, get access to Companions, dabble with dark powers, and pick new Adventurers / NPCs. Or dive into Oblivion’s Maw to fight a whole new kind of enemy, add terrifying new Wandering Beasts, pick up powerful loot, and save the world.
Dungeon Terrain and Beyond the Vaults
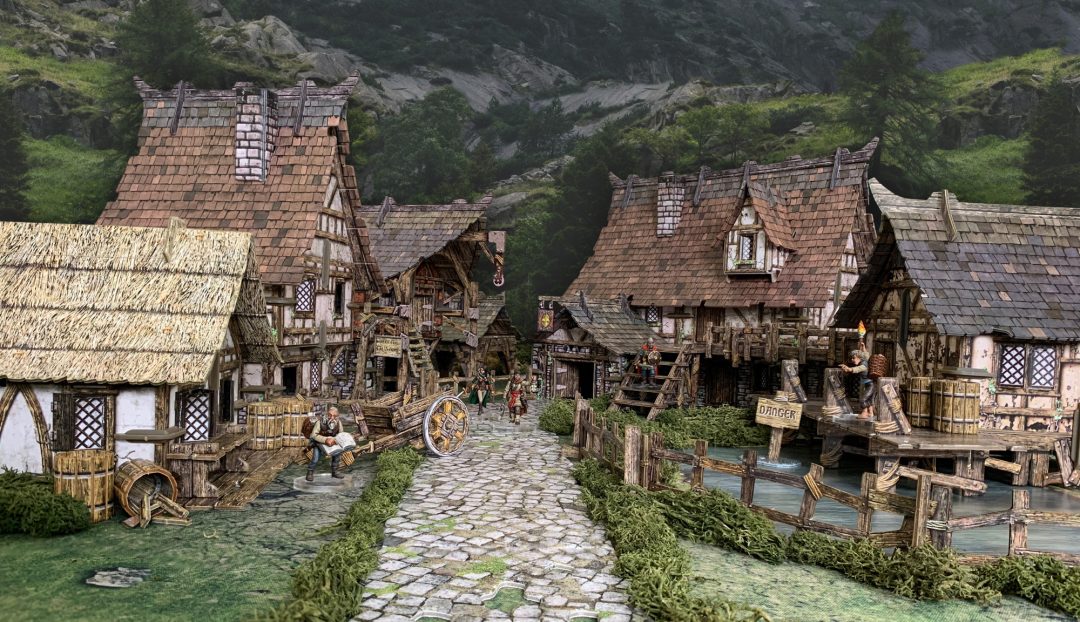
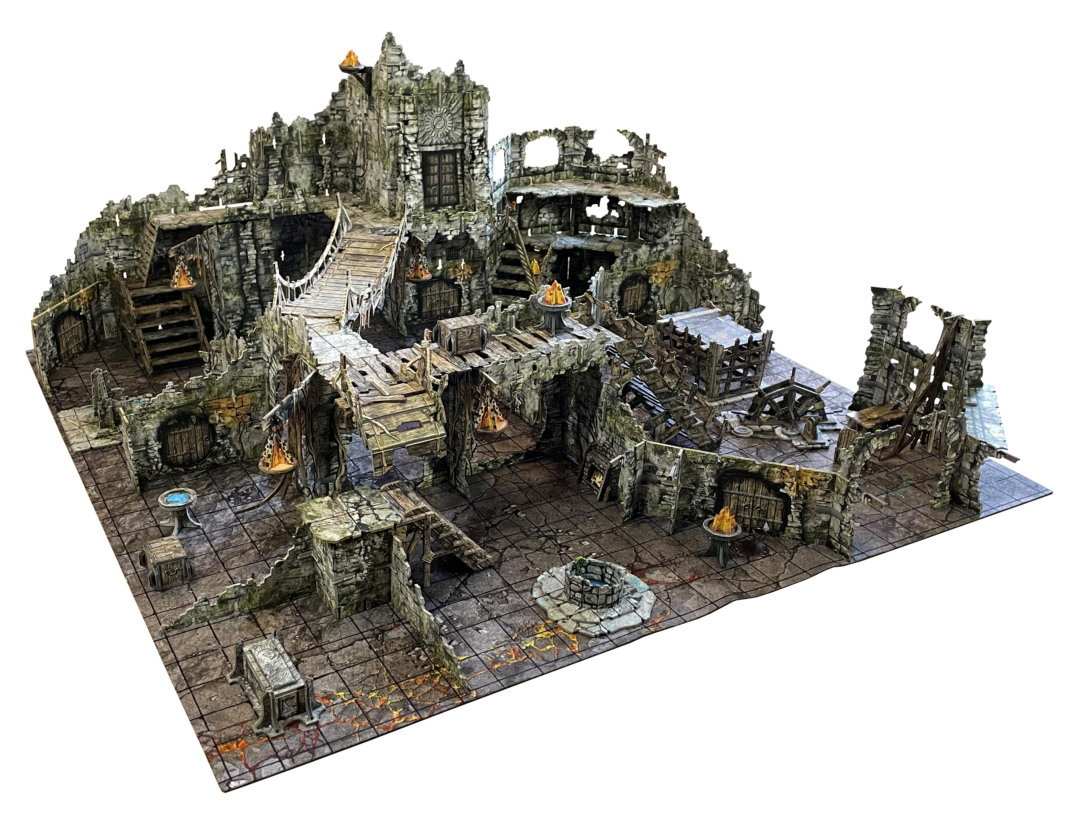
There is more to Enveron than dungeons. Our range of fantasy and dungeon terrain is fully compatible with Maladum. The Beyond the Vaults expansion gives you everything you need to explore villages, mines, garrisons, ancient libraries and much more using the Maladum rule. It also comes with a Quest generation system and Quests for all of our dungeon terrain.
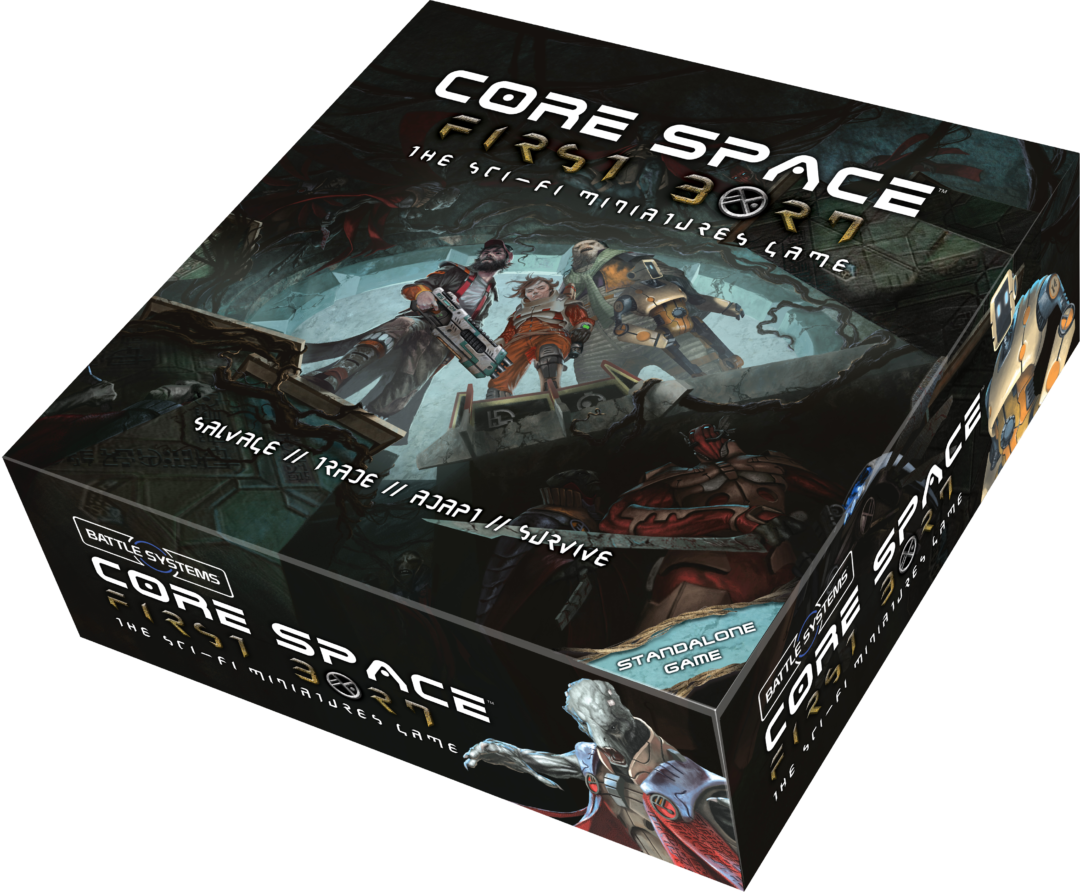
Blast Off Into Space
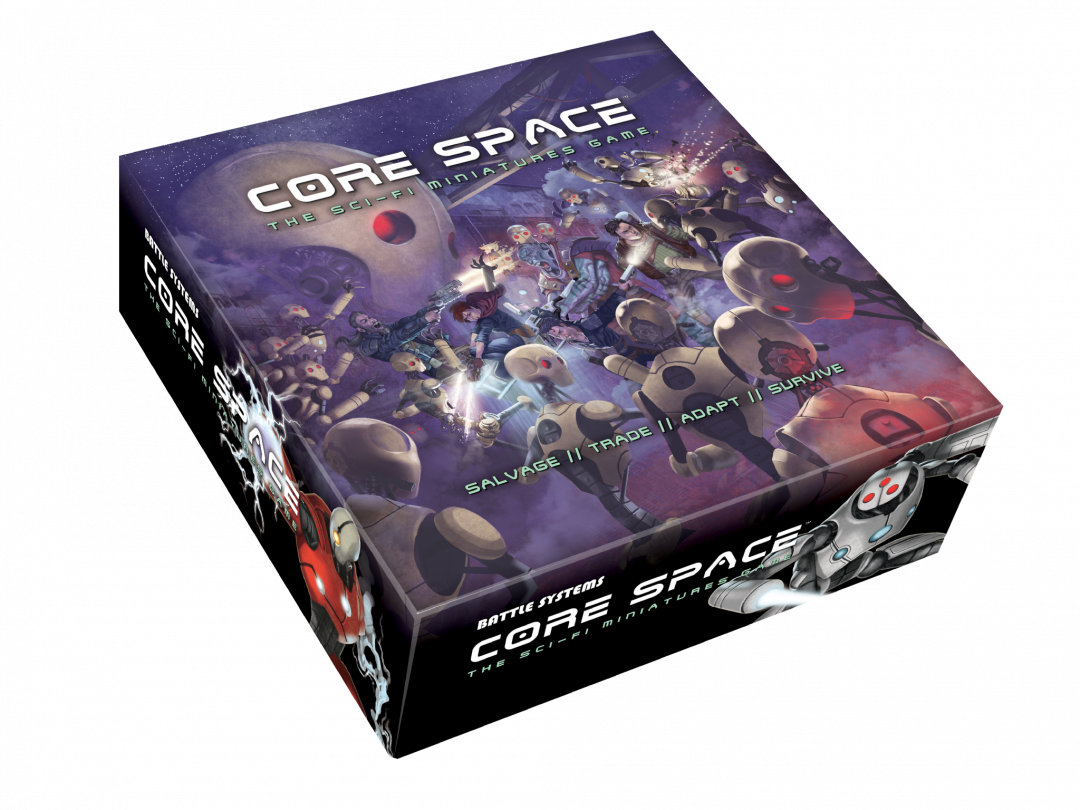
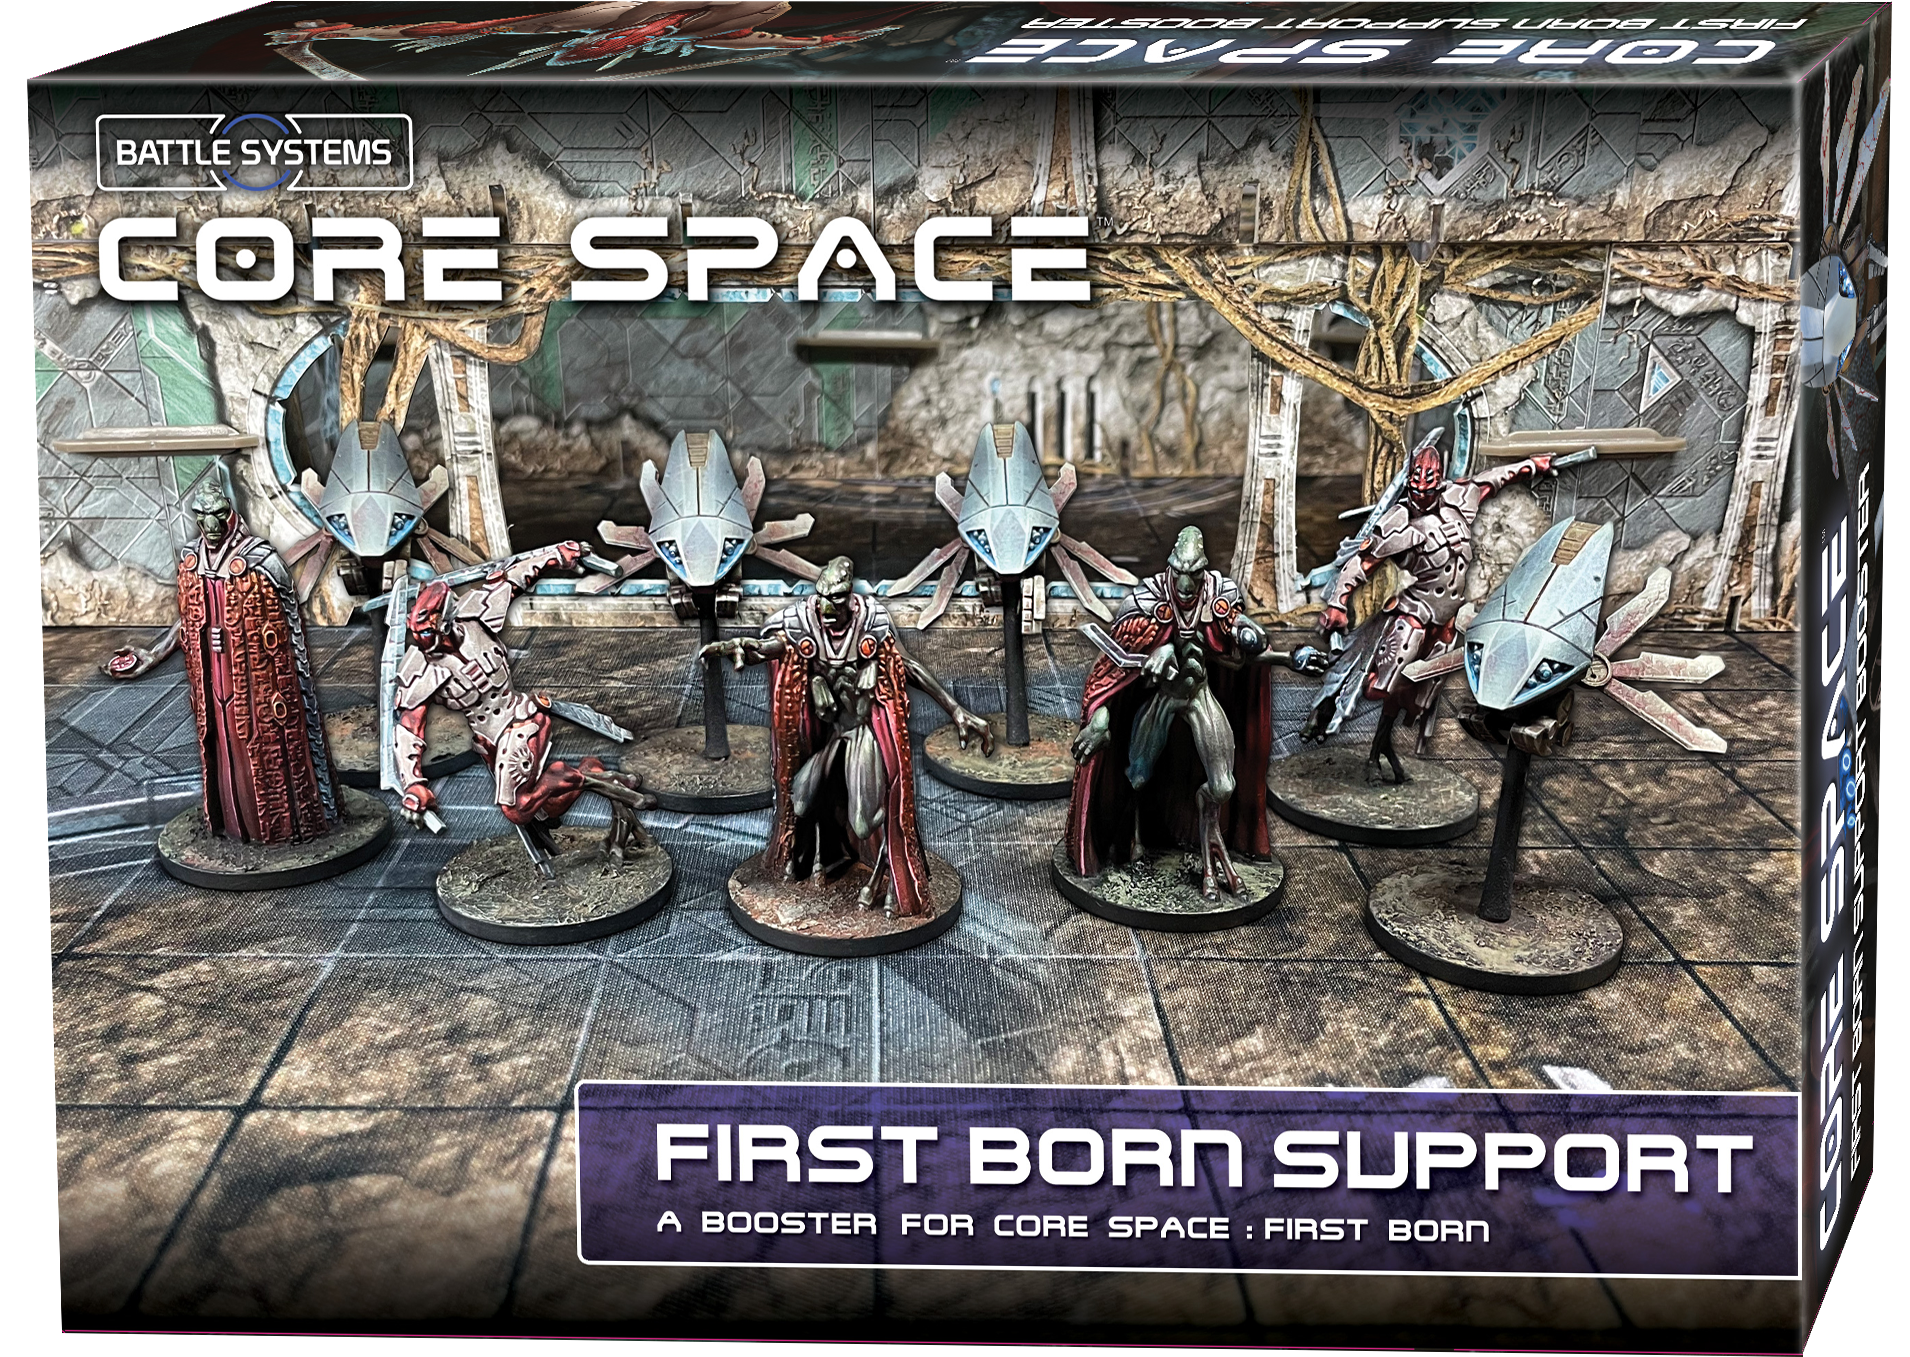
Do you fancy something a bit different? We also have a science fiction setting to play in. Core Space shares the same rules DNA with Maladum (and is actually set in the same universe). There are two starter sets: Grab Core Space if you want to battle against murderous robots, or Core Space: First Born if you want to thwart a deadly ancient alien species. Both starter sets are fully compatible with each other, so you can jump between them at will, and even bring some of your Maladum beasts with you.
Well, drink up now, what are you waiting for? Adventure awaits…

Start the conversation